Mold can jeopardize your health if not removed properly. Follow these tips to ensure effective mold removal while safeguarding your well-being.
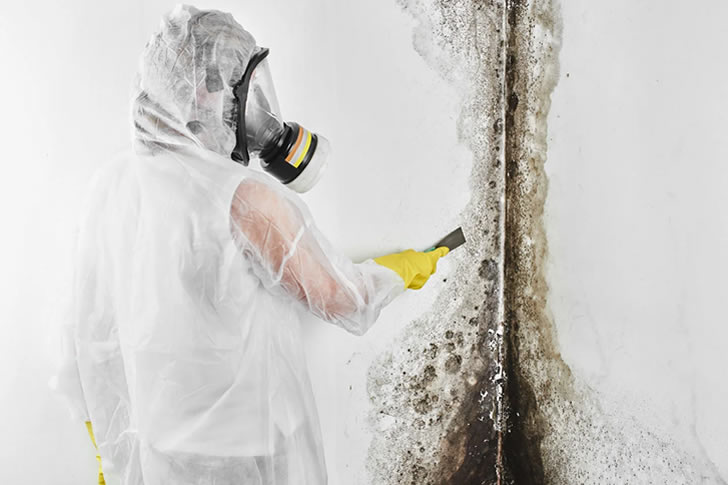
Mold is a type of fungus that thrives in moist environments and can grow on a variety of surfaces, including walls, ceilings, carpets, and furniture. It reproduces through airborne spores, which can be harmful when inhaled.
Mold will return unless the underlying moisture problem is resolved. Inspect for leaks, condensation, or poor ventilation and fix them before removing mold.
If mold covers more than 10 square feet, keeps returning despite cleaning efforts, or causes health issues, it’s best to hire a professional mold remediation service.
Mold removal is essential for maintaining a healthy home. By addressing moisture issues, using proper cleaning techniques, and implementing preventative measures, you can protect yourself and your family from the dangers of mold. If in doubt, consult a professional for safe and thorough mold remediation.
Explore the Tranquil Bliss of Idyllic Rural Retreats

Ultimate Countdown: The 20 Very Legendary Gaming Consoles Ever!

Understanding Halpin and its Influence

Affordable Full Mouth Dental Implants Near You
Discovering Springdale Estates

Illinois Dentatrust: Comprehensive Overview
Embark on Effortless Adventures: Unveiling the Top in Adventures Made Easy Outdoor Equipment

Unveiling Ossur Valves: Innovation in Prosthetics

Unlock the Full Potential of Your RAM 1500: Master the Art of Efficient Towing!

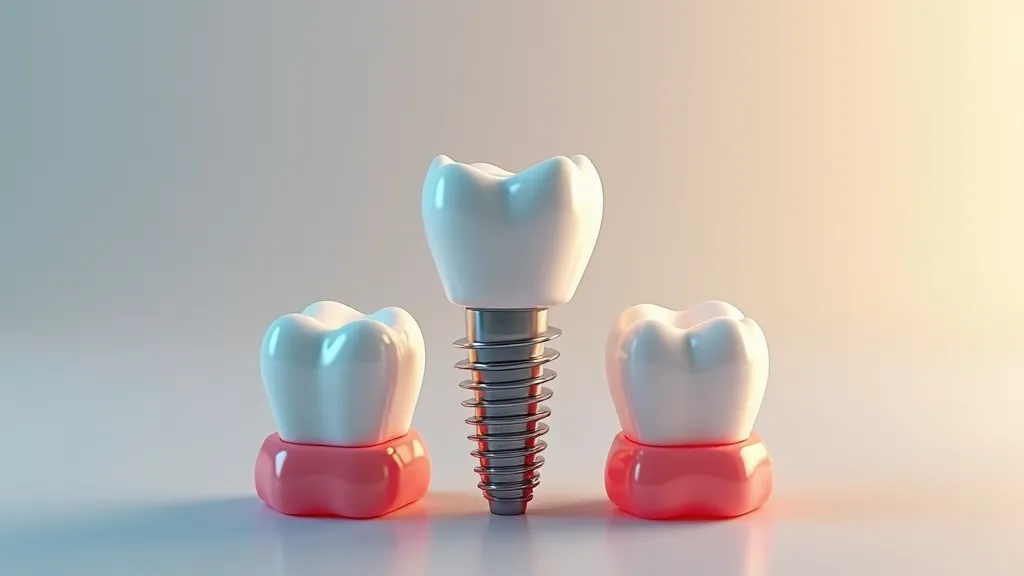
Revolutionizing Smiles: The Breakthrough Innovations in Dental Implants Changing Oral Health Care Forever
In the realm of dental medicine, the introduction of implant technology has dramatically transformed how professionals manage the absence of teeth. Providing more than just a stop-gap, these innovations have significantly influenced oral healthcare practices, offering alternatives that surpass older treatments like dentures and bridges, which often came with issues such as bone deterioration and persistent discomfort. By delving into the progression of dental implant advancements, we gain insight into their substantial contribution to the health and well-being of individuals with tooth loss.

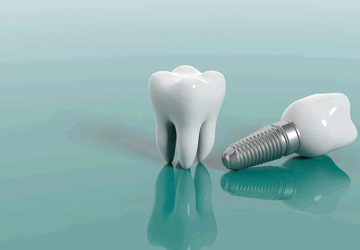
Unveiling the Top Dental Implant Options for Seniors: Transform Your Smile with the Ultimate Guide to Restored Radiance
The significance of oral health cannot be understated for the elderly population as they are commonly afflicted with tooth loss due to a multitude of factors, including decay and gum disease. Dental implants have risen to prominence as a prime method of teeth replacement, acclaimed for their long-lasting nature, functional prowess, and striking similarity to our own teeth. This discussion delves deeply into the realm of dental implants to demonstrate why they are considered the optimal choice for aged individuals aiming to enhance their smiles and overall life quality.

Master the Art of Flossing for a Stunning Smile and Healthy Gums
Engaging in the routine activity of flossing is a key element in warding off periodontal diseases and sustaining prime dental hygiene. Despite its seeming simplicity, a great number of people are unaware of how to floss in the very efficacious manner. This discussion aims to demystify the optimal flossing practices and provide useful advice to enhance the benefits of your daily flossing regimen.

Discover the Key to a Dazzling Smile: Your Ultimate Handbook for Selecting the Ideal Tooth Replacement Option
Choosing to address the issue of absent dentition involves a thoughtful process and deliberate choices. The journey encompasses considerations ranging from visual appeal to practical use and financial implications, all contributing to the determination of the very appropriate form of dental restoration. The path, strewn with ample data and a variety of choices including implants, dentures, and bridges, may appear intimidating. This detailed handbook is crafted to shed light on crucial elements, assisting you in arriving at a well-considered and personalized decision based on your individual needs and condition.

The Gastric Sleeve Procedure Unveiled
Gastric sleeve surgery, also known as sleeve gastrectomy, is a weight-loss procedure where a significant portion of the stomach is removed, resulting in a tube-like structure. This procedure decreases the size of the stomach, helping patients feel fuller faster and aiding in sustainable weight loss. It is essential for individuals considering this surgery to understand its implications, benefits, and potential risks.

Guiding Your Family Through the Conversation: Navigating a Lung Cancer Diagnosis Together
Receiving a lung cancer diagnosis is not only a medical shock but an emotional one as well, particularly when it comes to telling your family. These heart-to-heart talks are laden with feelings and pose difficulties for everyone involved. To navigate these discussions about a lung cancer diagnosis with your loved ones, consider the following strategies.